What is Easy Install in Vmware Workstation Player
VMware Workstation Pro (formerly VMware Workstation) is a professional and paid VMware virtualization solution that can even virtualize the most graphics-intensive applications.
In addition, some games may even be virtualized (but not all).
- Automatically create and install a virtual machine (Easy Install)
- Manually create and install a virtual machine (Custom - advanced)
- Files of VMware virtual machine
1. Automatically create and install a virtual machine (Easy Install)
Although VMware Workstation is intended primarily for a professional audience or already familiar with virtualization, VMware Workstation offers you the ability to create virtual machines by automatically installing the guest OS without any intervention of the user.
Note that this obviously requires the installation media (CD/DVD or installation iso file) of the desired OS.
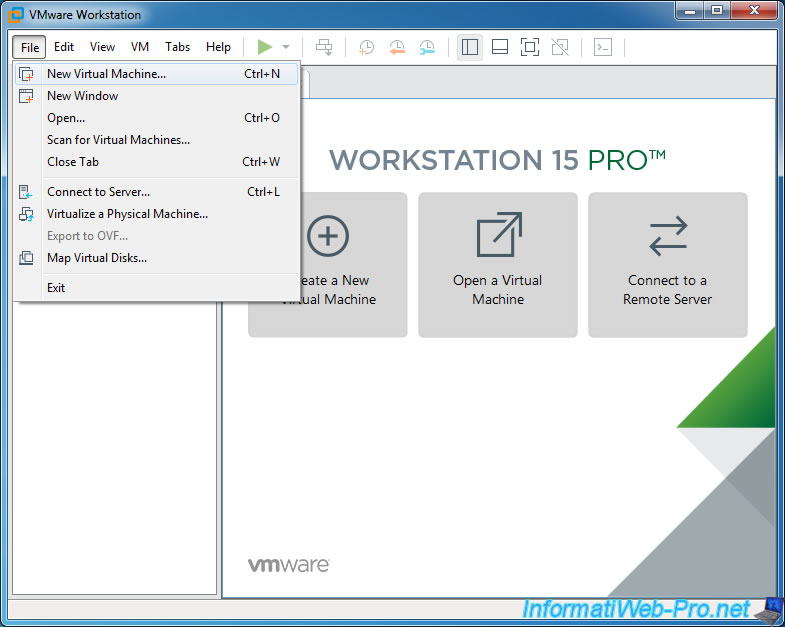
To use this technique, launch the New Virtual Machine Wizard by going to : File -> New Virtual Machine.
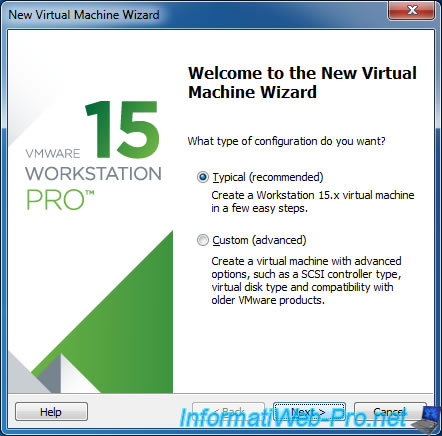
Then, choose : Typical (recommended).
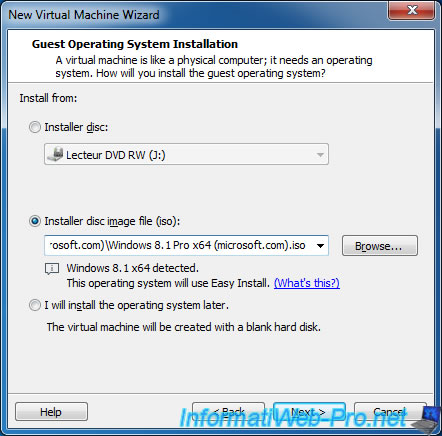
Select the iso file of the OS you want to install or insert the installation CD/DVD into the CD/DVD drive of your physical computer, then select "Installer disc: CD/DVD drive (X:)".
If VMware recognizes the guest operating system to install, this message will be displayed :
Plain Text
[Operating system's name] detected. This operating system will use Easy Install. (What's this?)
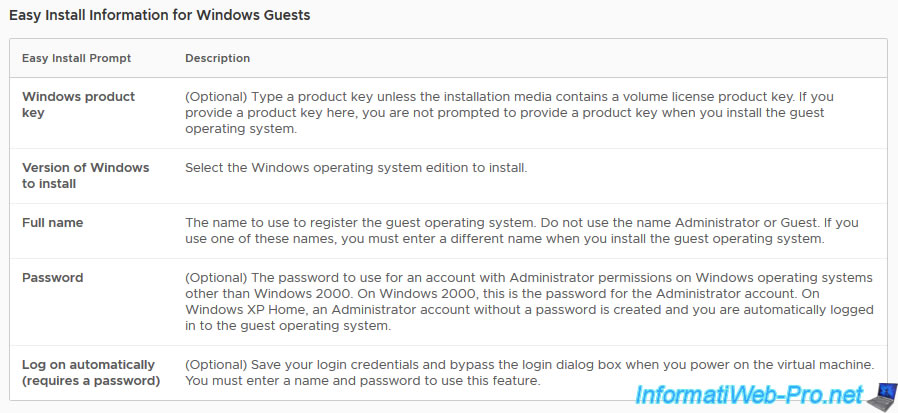
As you can see in the VMware Workstation documentation, Easy Install will allow you for Windows guest OS to :
- directly specify the product key to use for Windows installation
- select the edition of Windows to install (if the DVD contains several editions as it's the case since Windows Vista)
- specify the name of the user that will be at the end of the Windows installation
- specify its password, if you want to protect the user account with a password (optional)
- choose whether you want VMware to automatically connect you to your Windows session in the guest OS (if you have set a password previously).
Note that if you have not set a password for this user, Windows will automatically connect to the session created in the guest OS.
For Linux-based guest OS, you can specify :
- your full name (last name + first name) that may be used by the guest OS (depending on the installed Linux distribution)
- a username
- a password for the user mentioned above and NOT for the root account

In our case, we will install Windows 8.1 x64 by specifying the serial number for this OS.
And we will automatically create an "InformatiWeb" user account that will be password protected, but VMware will automatically log us in with these credentials to avoid typing them each time.
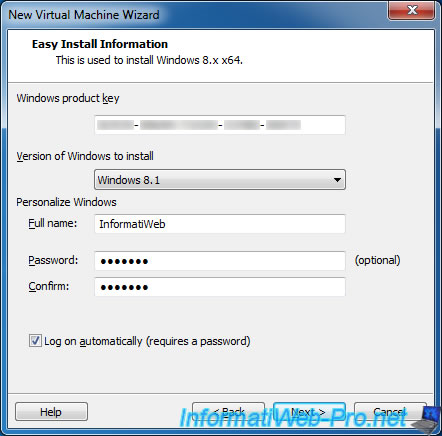
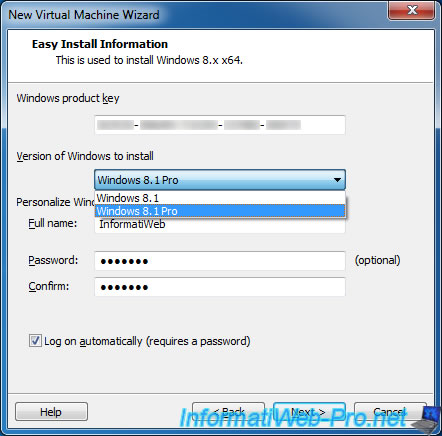
As you can see, the ISO file we use contains 2 editions :
- the standard version (edition) : Windows 8.1
- and the professional edition : Windows 8.1 Pro
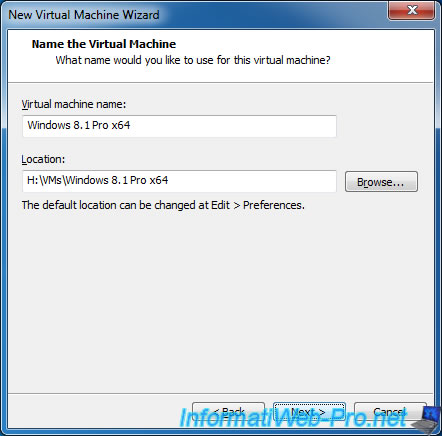
Specify where you want to store your virtual machine.
Note : it's possible to change the default location of virtual machines by going to : Edit -> Preferences -> Workspace.
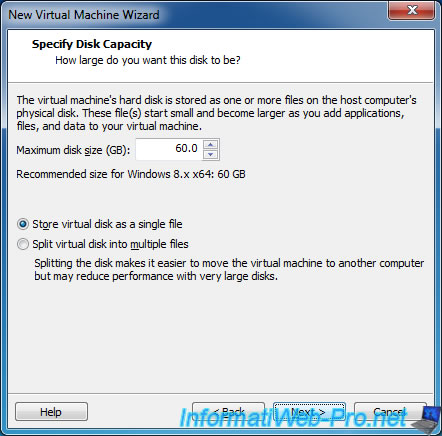
By default, VMware shows the recommended size according to the guest OS you want to install.
For the second option, it's to store the contents of the virtual hard disk in one file or in several files.
Theoretically, storing everything in a single file gives you better performance, but if you want to move this file or transfer your virtual machine with a FAT32 formatted USB key, choosing the second option will be preferable.
Even if the storage in several files is supposed to make you lose in performances.
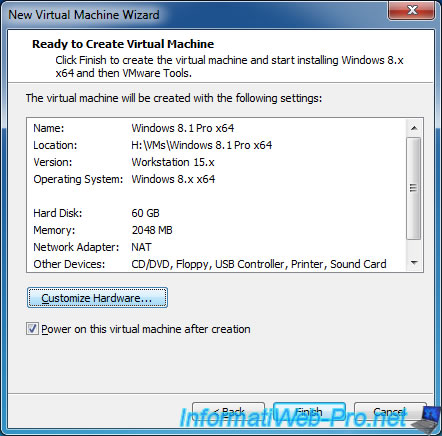
Finally, you can change some of the hardware configuration of your virtual machine by clicking Customize Hardware.
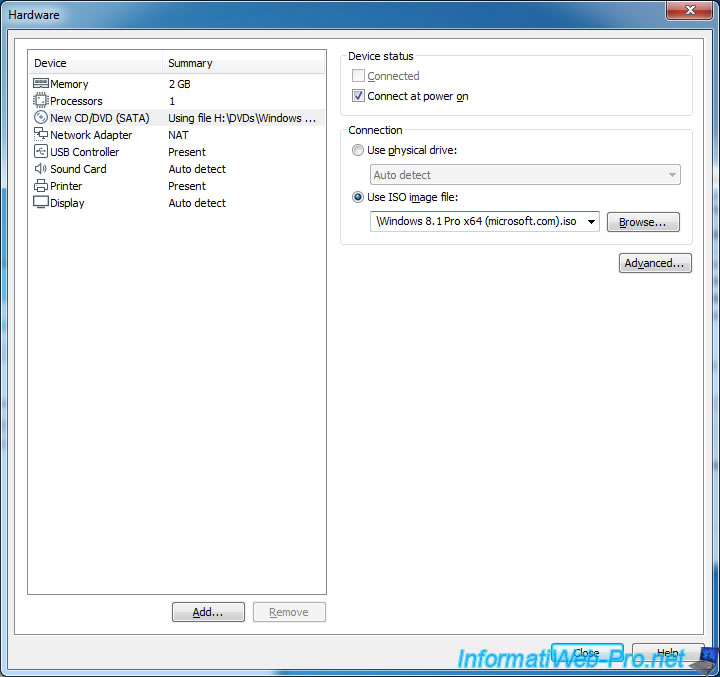
Since we have already selected the iso file at the beginning of the wizard, it's already assigned to the virtual CD/DVD drive of your VM.
Click on Close.
Then, click on Finish.
Wait while creating the virtual hard disk and pre-filling it (due to the use of the Easy Install).

As you can see, using the Easy Install causes VMware Workstation to pre-populate the virtual hard disk even before the virtual machine is started.
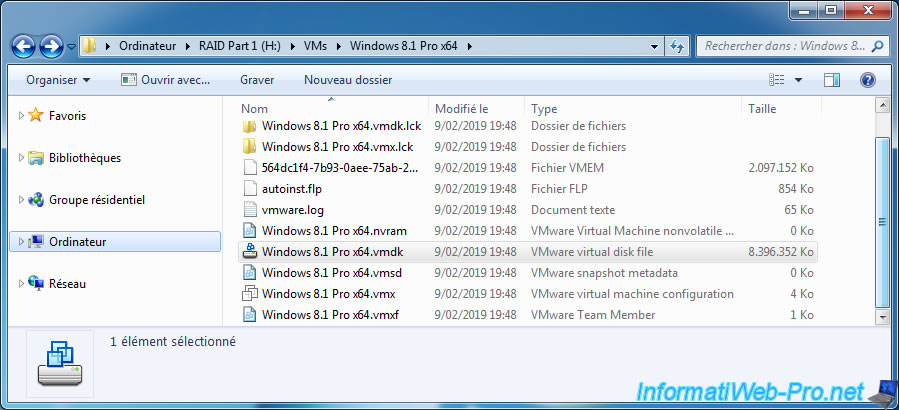
Then, start the virtual machine.
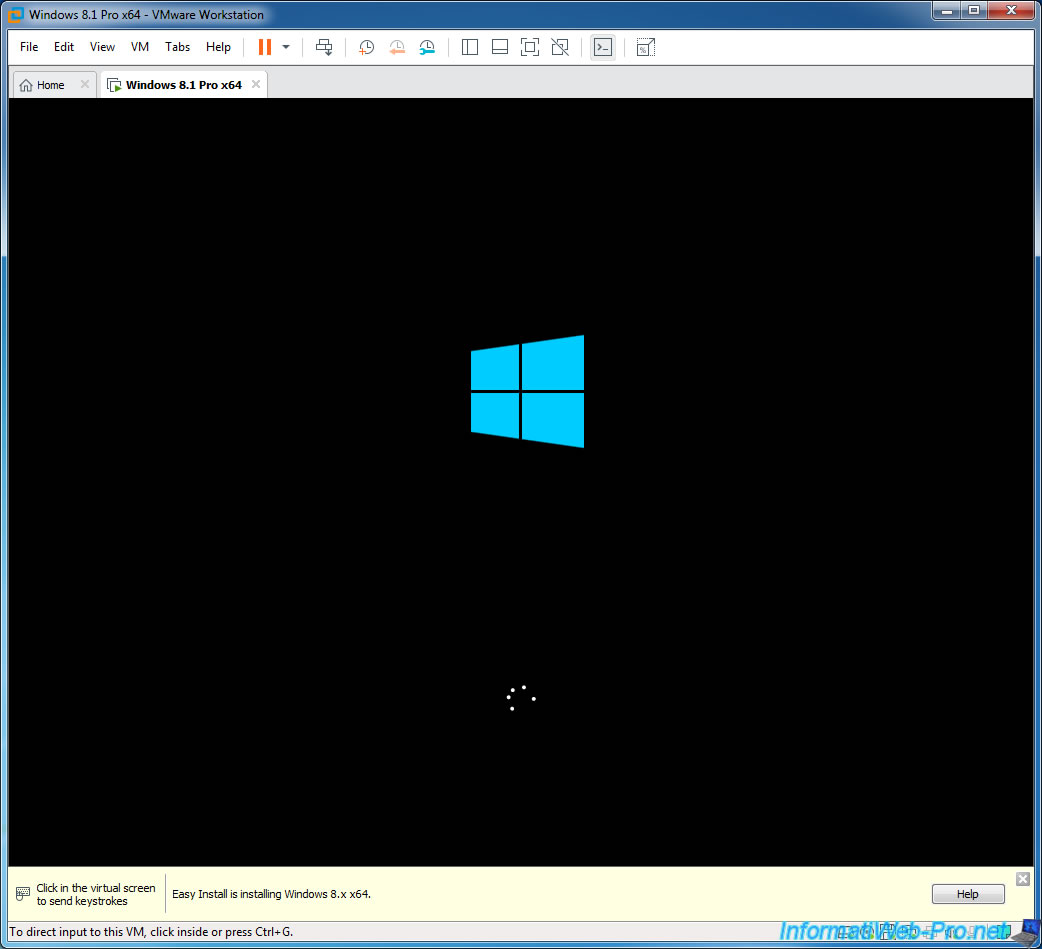
As you can see, the installation starts without even asking you :
- the installation language
- the product key
- to partition the hard disk of the virtual machine
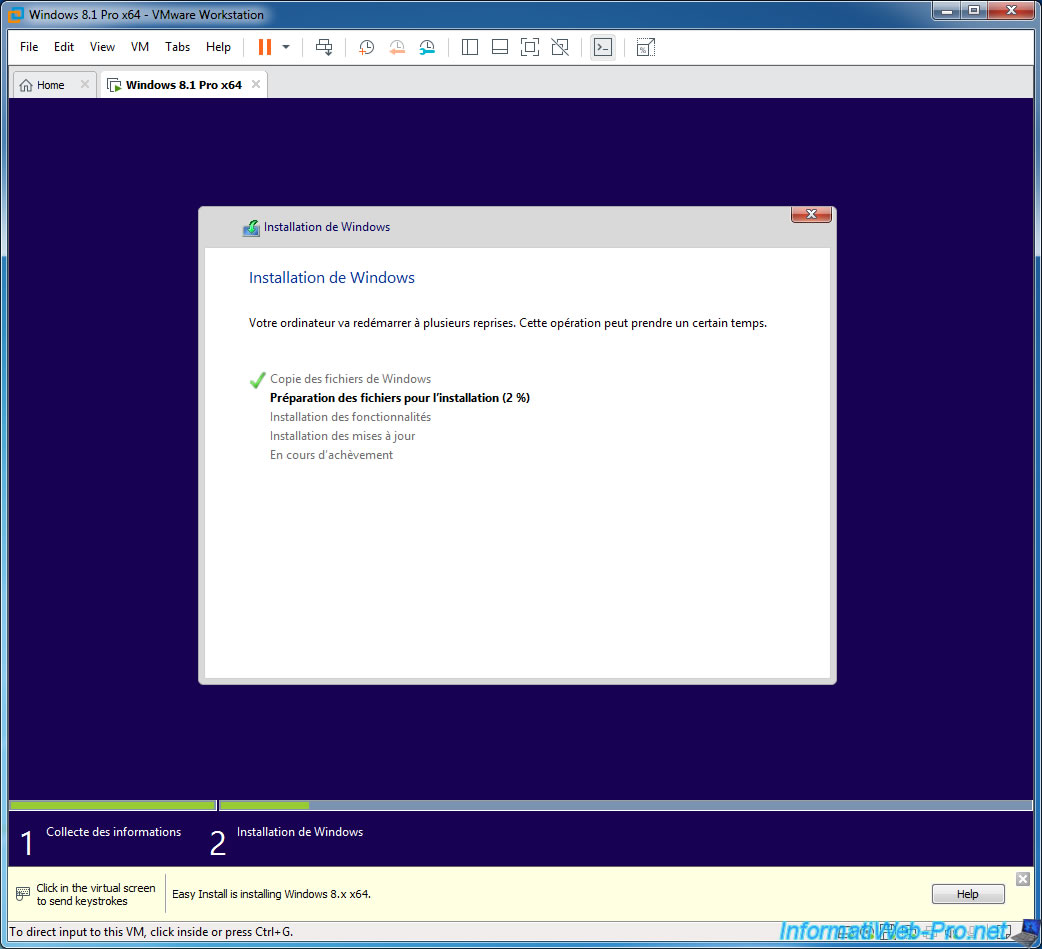
The installation of Windows 8.1 continues without any interaction of you.
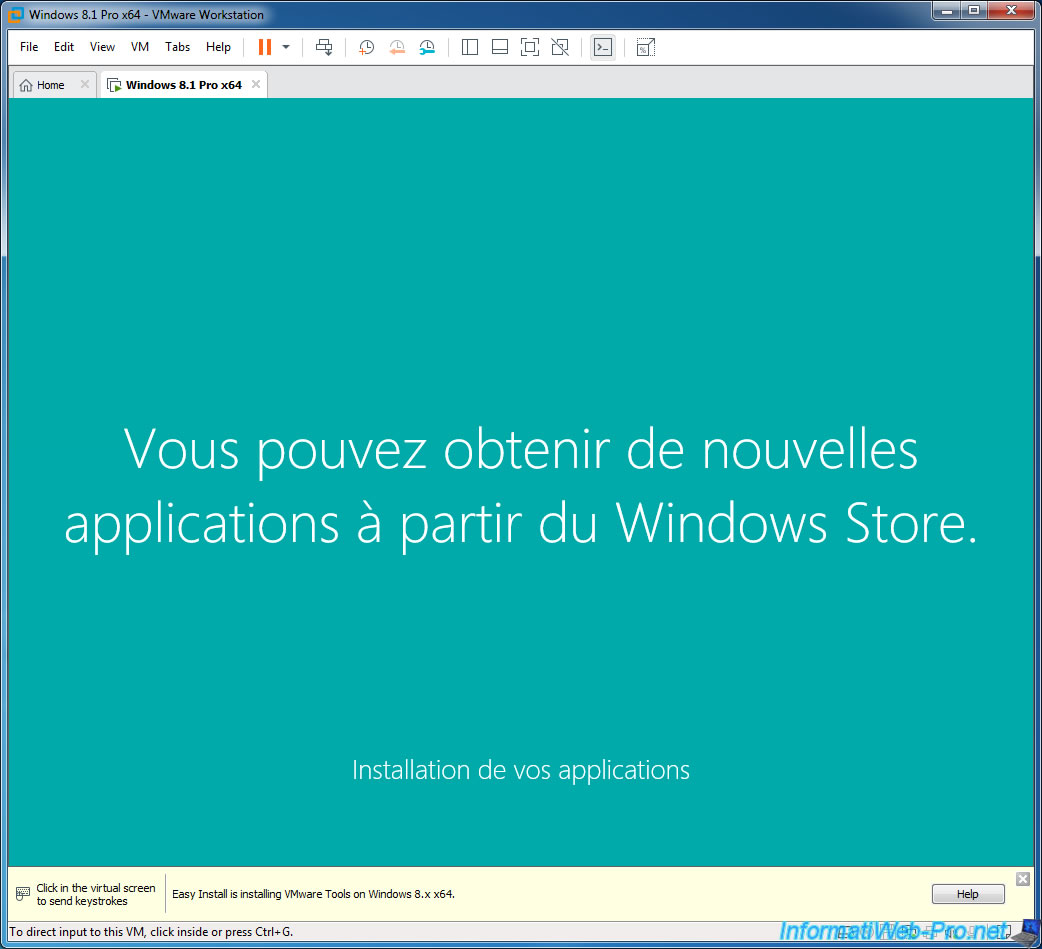
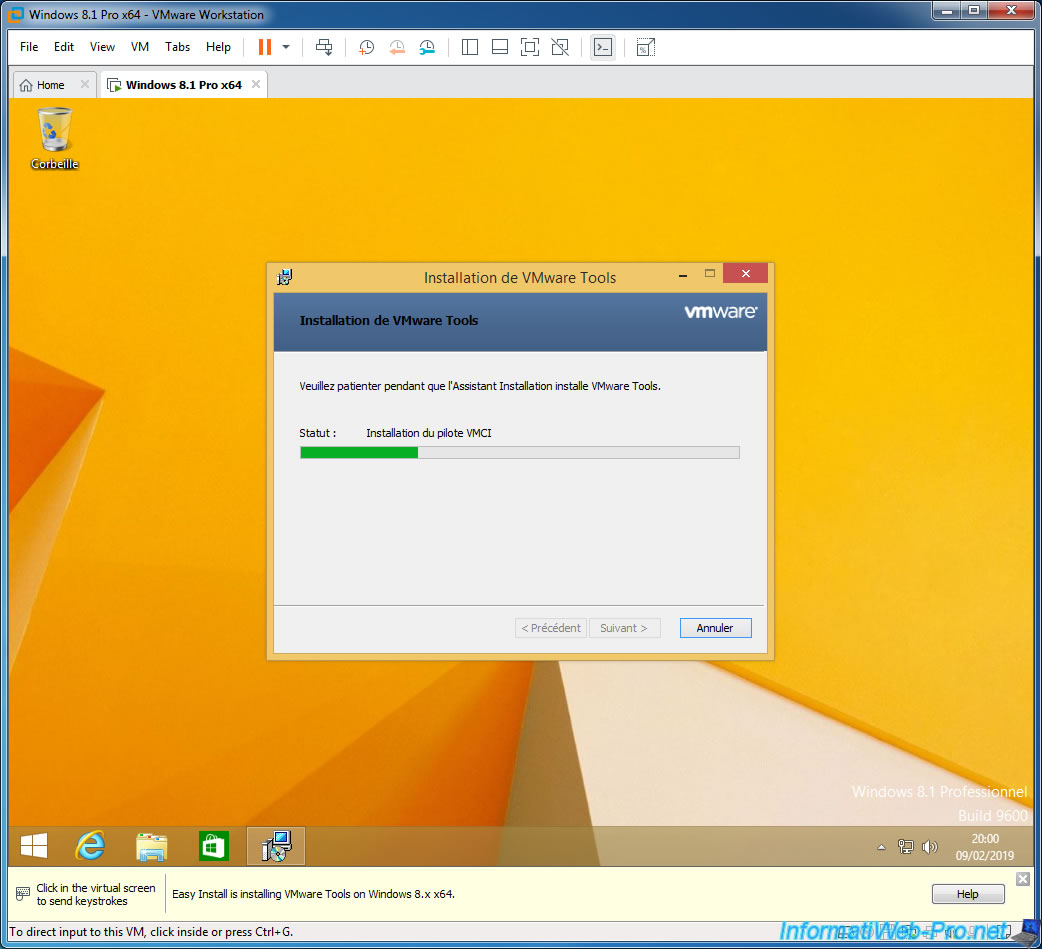
Once Windows 8.1 is installed, the installation of VMware Tools will start automatically.
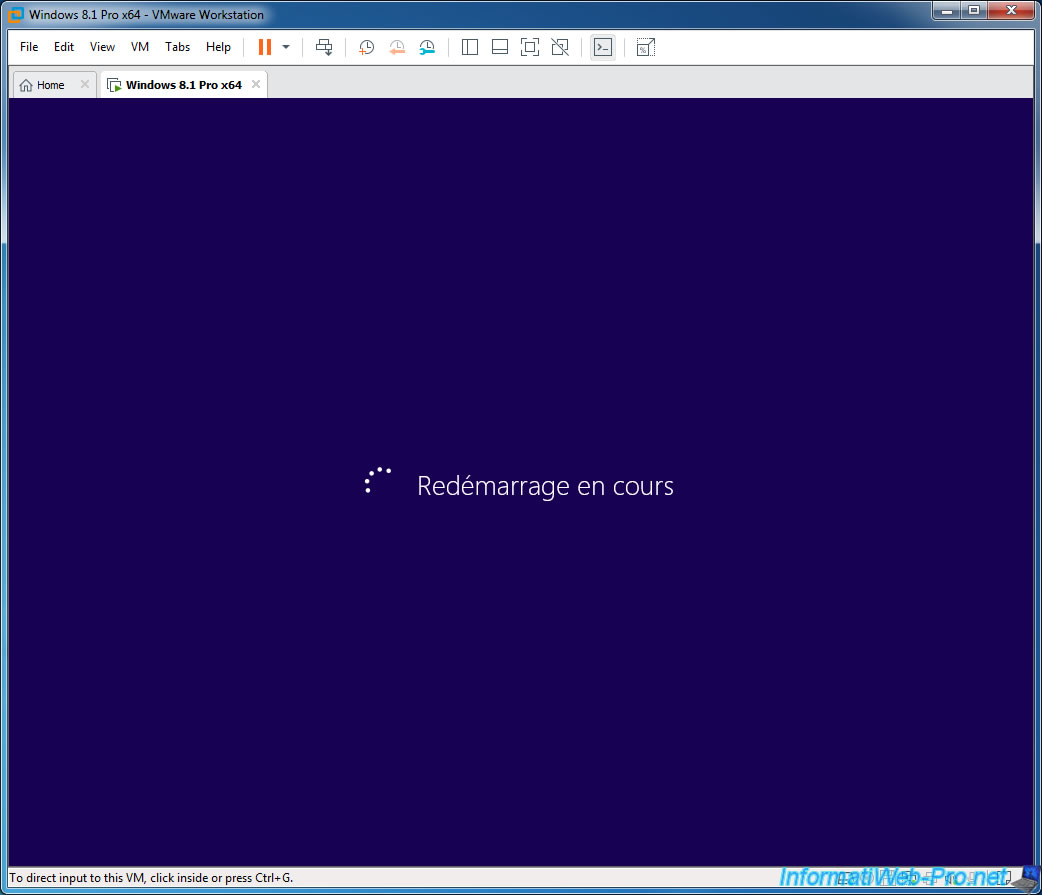
Windows restarts after installing VMware Tools.
And your virtual machine is installed and ready for use.
You will notice the appearance of a small icon "vm" which corresponds to VMware Tools.
So you can now use all the features of VMware, including shared folders, drag and drop files from the host PC to the virtual machine (and vice versa), ...
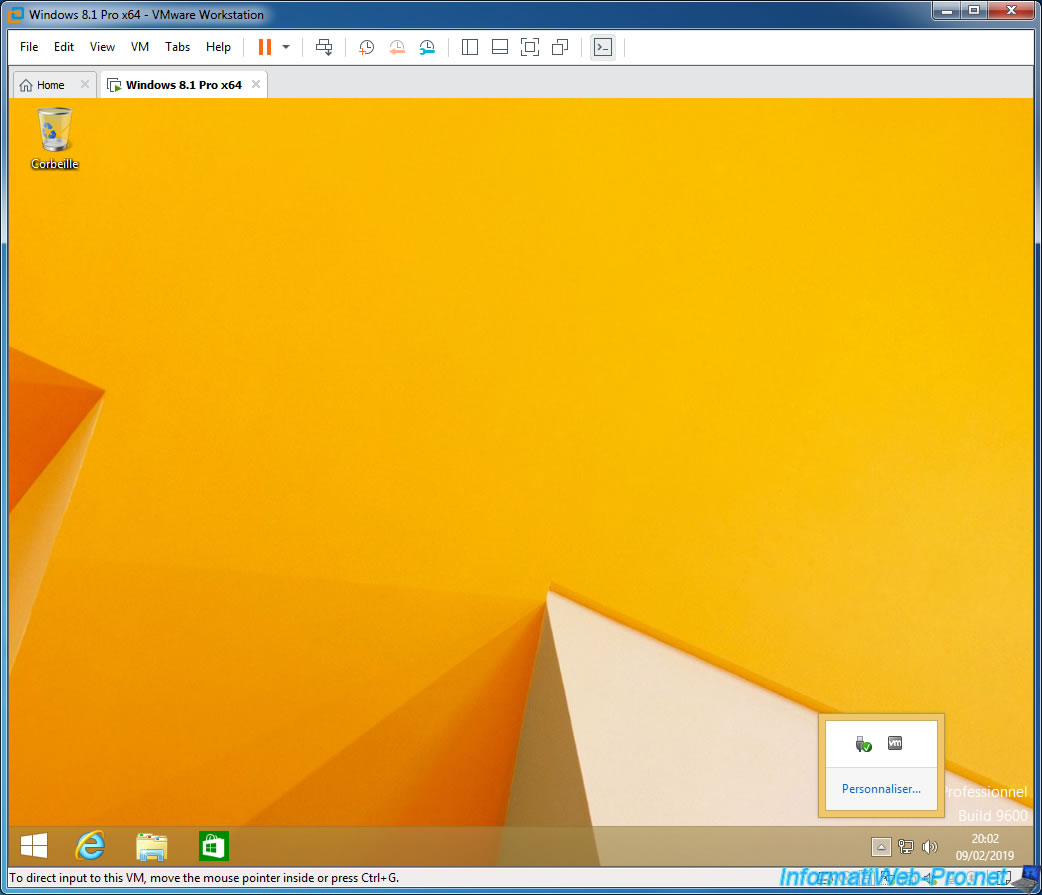
As you can see, VMware Workstation has installed the Professional edition of Windows 8.1.
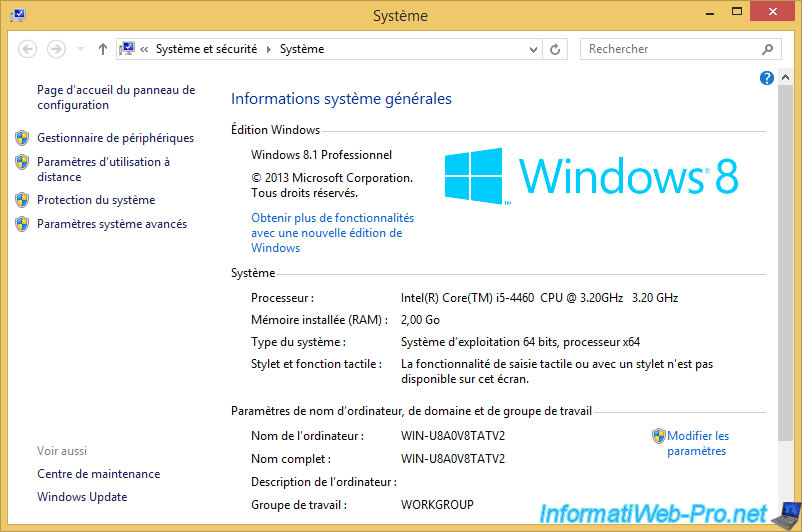
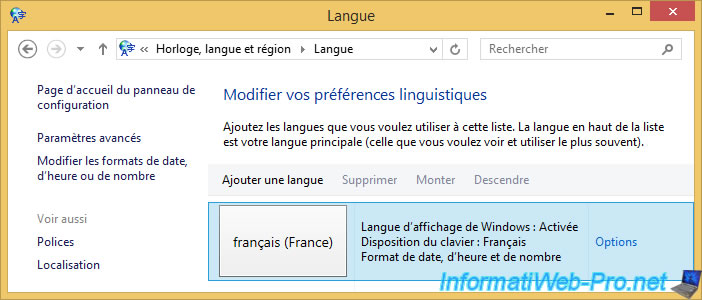
But, the Easy Install is not perfect.
Indeed, we live in Belgium and VMware Workstation has install Windows 8.1 in French (France) instead of French (Belgium).
In other words, when we use the special characters of our keyboard, some of them will not be in the right place. For example : the @ is on the left (with the number 2) in Belgium and on the right (with the number 0) in France.
Source: https://us.informatiweb-pro.net/virtualization/vmware/vmware-workstation-15-create-a-virtual-machine.html